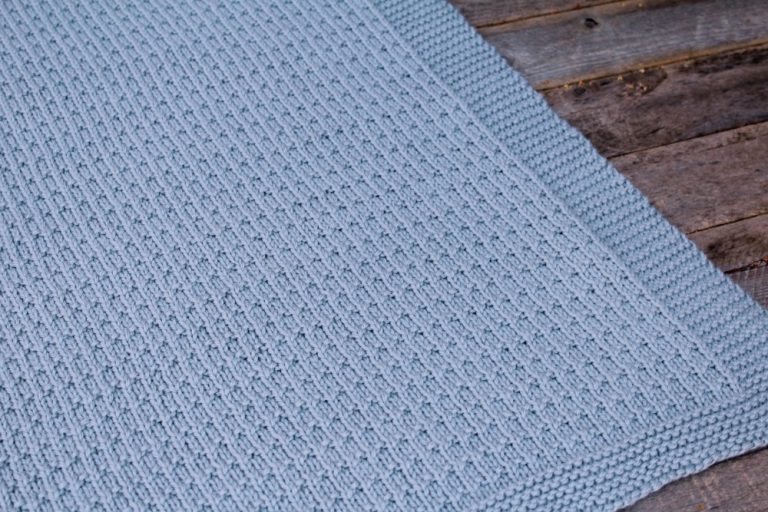
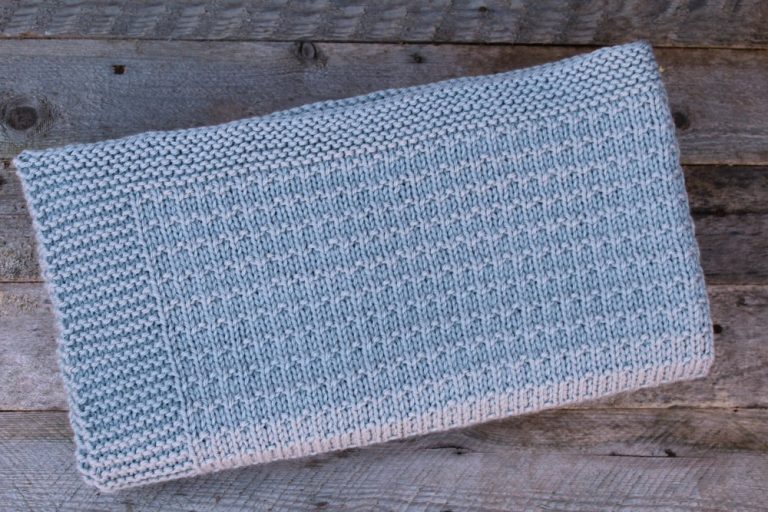
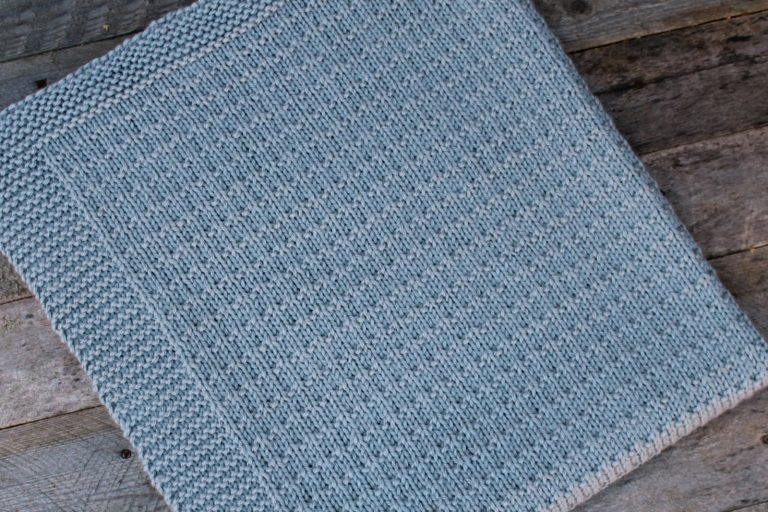
I love making baby blankets, i love when you can easily remember all the row repeats and you can then just knit anywhere on the go – this makes me very happy! This easy baby blanket pattern only uses two stitches, knit and purl, so if you know how to do those you are basically good to go!
This baby blanket is perfect for beginners and very easy for the more advanced and what’s good about this blanket is that it can also be used for toddlers too and great for boy or girls.
This blanket only took 660 yards of yarn which is great for a blanket of this size, I used Cascade 220 in the colour grey, this was the first time of using this yarn and i really enjoyed using it, it was very soft for a yarn that was a 100% wool with no itching and no breakage in the yarn ball and it glided perfectly with my knitpro circular needles – big thumbs up from me!!
This blanket like most knitted blankets needed wet blocking to get it to the correct size and to make the stitches more defined so i would advise using a 100% wool yarn to wet block, if you would like to use the same one as me you can purchase your Cascade 220 yarn here! If you are going to use an acrylic yarn or part acrylic yarn, i would still wet block it but you may need to steam block your blanket with either an iron or steamer once it is completely dry – Just make sure it doesn’t touch your work as this will burn the stitches and ruin all your hard work.
If you have never wet blocked before don’t worry i have included how you do this at the end of the pattern! Easy peasy!
If you are still unsure if you would be able to achieve something like this because you are new to knitting, why not check out some videos to help you, which include how to Cast on, Knit and Purl, you can find these helpful videos here
Hope you enjoy this weeks free knitting pattern and come and follow Wool and Stitch on Instagram to be kept upto date with latest designs @wool_and_stitch
Clare xo
** You can purchase an inexpensive AD free PDF version of all my patterns on Craftsy here **
WHAT YOU WILL NEED:
Needles – US 8 / 5mm Circular Needles 32 inches (80cm) – Recommended – You can use long straight needles to accommodate the large number of stitches
Yarn – Cascade 220 / Any Worsted Weight Wool Yarn – 660 yards
Colourway – Grey
Scissors
Tape Measure
Darning Needle – To weave in ends
Towel – For blocking
GAUGE:
20sts = 4 inches (10cm)
Gauge is not particularly important for this pattern
SIZE:
30 inches Width x 31.5 inches Height, after blocking
ABBREVIATIONS USED:
K – Knit
P – Purl
SKILL LEVEL: Easy
You will need to know how to cast on, knit and purl. Read a row by row knitting pattern, bind off stitches and how to weave in ends. Blocking of the finished blanket is highly recommended to make it to the correct size, how to do this has been included in the pattern
PATTERN NOTES:
This blanket is knit flat using circular needles knitting back and forth. You can use long straight needles to accommodate the large number of stitches that is required
BEGIN PATTERN
BORDER:
Cast on 125 stitches
R1. Knit all stitches (Right side of work)
R2-R10. Knit all stitches
MAIN PATTERN:
R1. Knit all stitches
R2. K10, purl all stitches until last 10 stitches, K10
R3. Knit all stitches
R4. K10, P1 * K1, P1 * Repeat until last 10 stitches, K10
Repeat rows 1-4 of the main pattern until all of your blanket including the border measures 28.5 inches (approx) finishing on a row 4
Bind Off.
FINISHING – WET BLOCKING:
Step 1: Wet block your work by wetting your blanket in a sink or in a bucket of cool water (you don’t want to use warm water as your blanket may felt and become fluffy) Leave approx for 5 mins in water
Step 2: Take your blanket out and very gently squeeze water out (do not wring water out as it will ruin the blanket)
Step 3: Gently squeeze remaining water out with a towel – You don’t want your towel dripping with water
Step 4: Place your blanket on blocking board / foam board, gently stretch your blanket out to measure 30 inches width x 31.5 inches height and place pins to hold in place – I recommended 1 inch between each pin to hold in place
Step 5: Let your blanket completely dry out, this may take up to 48 hours – You could use a fan to quicken up the process
** You can purchase an inexpensive AD free PDF version of all my patterns on Craftsy here **


